If your transmission requires a fluid change, you can do it yourself by following a step-by-step guide. This would not only allow you to maintain your vehicle’s performance, but to lengthen it as well, and the process is very affordable, so it is definitely something you can consider doing on your own.
Using your dipstick, check the level and condition roughly about once a month, and if you see that the colour is bright red and that it smells sweet, these are signs that the fluid is still usable. If, however, you notice that the fluid is of a darker colour and that it is dirty or smells bad, these are signs that you need to change it. It is generally recommended that you change the fluid in your car every 30,000 to 60,000 miles and the frequency will vary based on the conditions you drive in and how tough you are on your transmission.
To complete a transmission fluid change, you will need a filter, fluid, torque wrench and a large pan. Once you have these items, follow these steps:
Put Your Car On Ramps
This should be your first step, so do this and do not forget to block the wheels. The process can be messy, so wear old clothes and put newspaper underneath your workspace, as this will prevent oil from getting on your driveway. Make sure you dispose of the oil properly once you are finished and never empty it in your trash or yard.
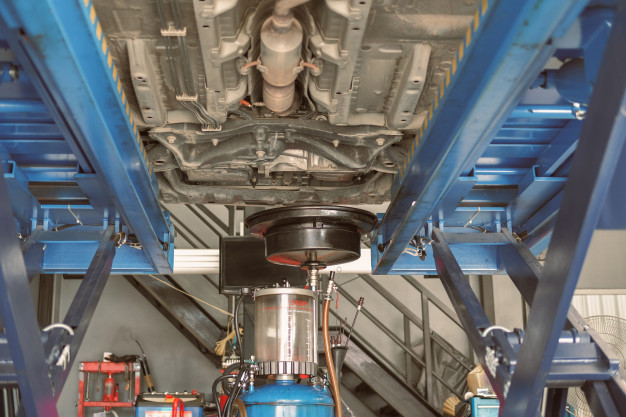
Find The Transmission Pan
Use your owner’s manual to locate the transmission pan and place the oil pan you are going to use directly underneath. Remove the bolts slowly because once the seal breaks, the fluid will start to drip, so make sure you are not in the way. Allow the oil to drain completely into the drain pan and wash the sediments and deposits out of the pan using fluid.
Check The Gasket
The next step is to see whether or not you need to replace the gasket. If you see that it is worn, it is time to replace it and doing this is important because it will save you from repairs down the road. It is recommended that you apply a thin layer of RTV sealant to the pans flange so that you have a leak proof seal that is nice and tight.
Remove the filter
Do this once it has drained completely but be careful because the filter contains fluid in it as well. After you replace it with your new filter, tighten it to the specifications in your owner’s manual and replace the bolts on the pan. Tighten them for the first couple of threads by hand and add the fresh oil using a funnel.
If you’d like a professional to help with your transmission fluid change, Alberta Drive-Line Rebuilders Ltd. can help. We specialize in transmission repairs, so if you are in Edmonton, contact us today!